How to set up your cyclocross wheels for tubeless tyres.
Introduction – this how to will take you through the procedure for setting up tubeless cyclocross tyres.
With an ever increasing number of cyclocross bikes being supplied with tubeless ready wheelsets and more tubeless cyclocross tyres becoming available now is a good time to consider a swap to tubeless. Running a cyclocross bike with tubeless tyres has some significant advantages. You can run them at a lower pressure for better traction. No pinch flats as there is no inner tube installed. Rotating weight is the most important area to cut weight from a race bike so a light tubeless tyre + sealant can save 100g over a tubed equivalent. Less chance of a puncture as the tyre has a liquid sealant which, when under pressure, is forced into the hole and seals it. Easier to swap tyres from mixed to mud tread mid season. Cheaper setup than tubulars.
How it works – we need to make the tyre sit on the rim in a secure airtight manner with no inner tube being used. The rim is sealed using a thin plastic adhesive tape instead of regular rim tapes. The tyre has a thicker sidewall and the tyre bead is square shaped to fit into the rim lip tightly to ensure a firm airtight fit. Then a liquid sealant is added inside the tyre. The tyre is inflated and the bead locks to the rim bead airtight. If the tyre is pierced the sealant is forced into the hole and is sealed without any issues to the rider.
Materials – you will need a roll of tubeless tape (we used 21mm wide tape), 2x tubeless valves (we recommend the ones with a round rubber bung on the base) and a bottle of tubeless tyre sealant. We recommend a synthetic latex based sealant like Effeto Mariposa Caffélatex, OKO Magic Milk or Vredstein (Stans No Tubes contains ammonia and can cause damage to alloy parts if it leaks). We can supply a tubeless kit with everything you need.
Tools – clean rag, pointy screwdriver tool, scissors, track pump (possibly a valve core remover too). We use a wheel stand but it can be done without one as well.
Note – although it is sometimes possible to set up non tubeless ready rims for tubeless tyres (aka Ghetto tubeless) we recommend using a tubeless ready rim such as Pacenti SL23 or SL25, Stan’s Grail, WTB i19, Ryde XC22 and selecting a tubeless specific tyre such as Vittoria TNT, Maxxis Mudwrestler or Kenda SCT for best results. Other tubeless tyres are available from Hutchinson and IRC and Schwalbe (shortly). If in doubt see our page on selecting the right tubeless tyres.
Technique – how to judge how many wraps of tape are required is the key to getting a tyre to seal well on a rim. The trick is use the tape to raise the profile of the base of the alloy rim surface to help the tyre bead to seat tightly in place and give a good seal. This may be trial and error and is dependent on the tyre and rim combination used. If unsure go for two wraps and mount the tyre without sealant first time out to test effectiveness.
1 – clean the rim of any contaminants and old tape and adhesive, dirt, grime and grease.
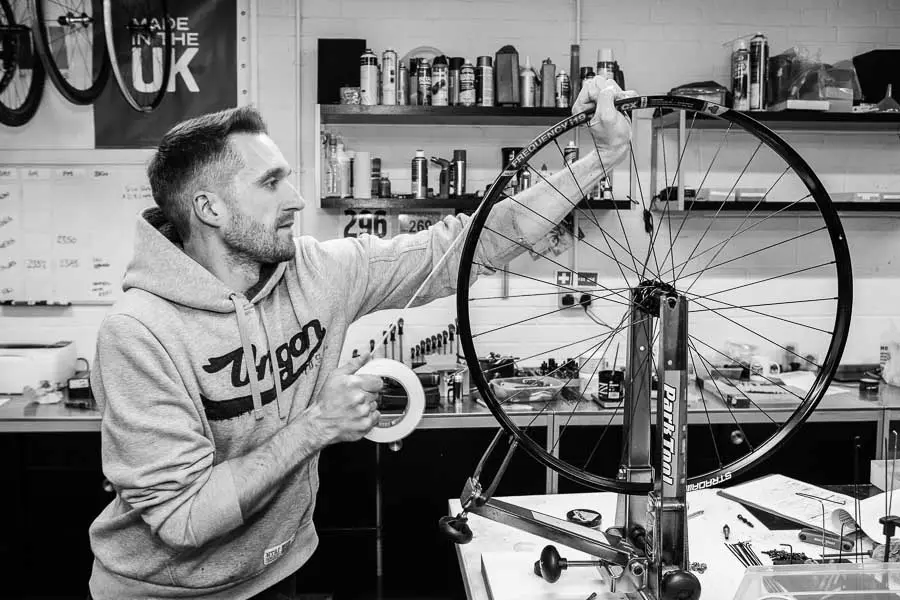
2 – start taping the rim from 2 inches above the valve stem hole. Keep the tape taut as you roll it round.
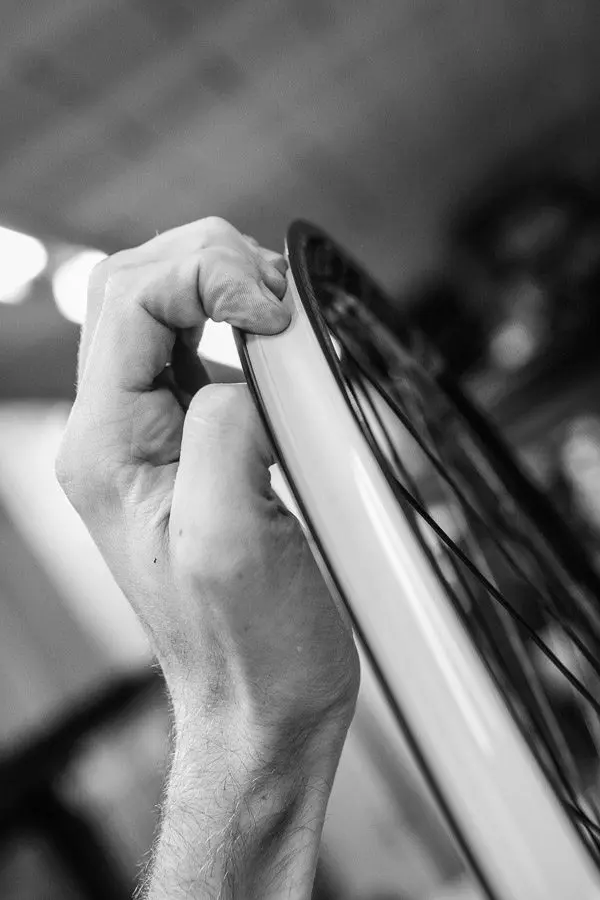
3 – keep pressing the tape down into the central gully as you go with your fingers. After a suggested two or three full wraps cut the tape 2 inches BELOW the valve stem.
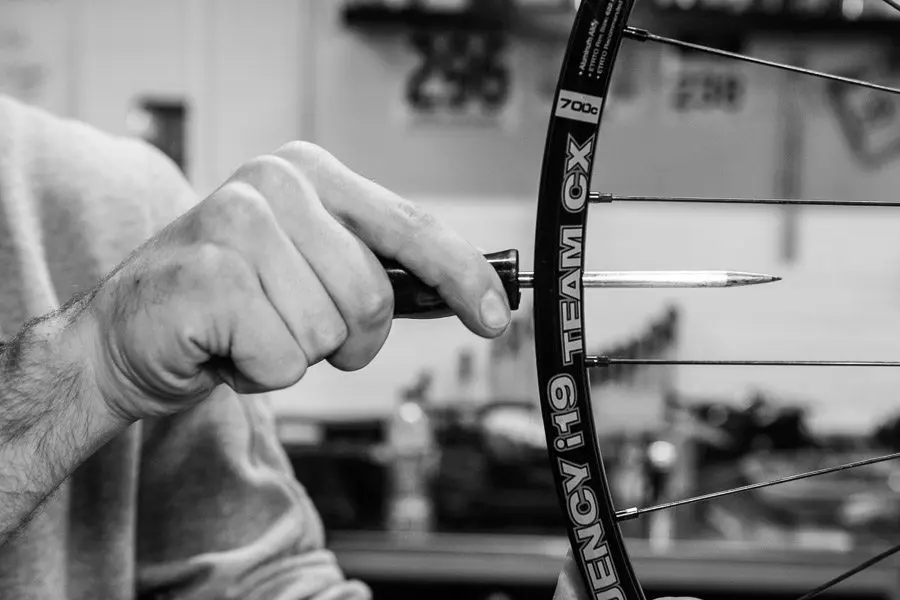
5 – use a sharp pointed tool to puncture the tape through the valve stem hole.
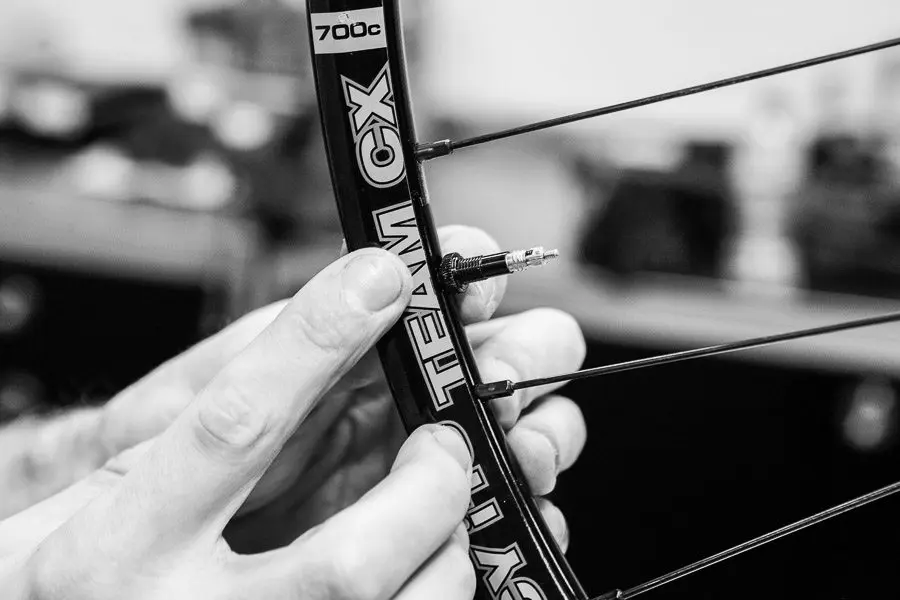
6 – remove the valve locking ring and press the valve through the tape and thread on the locking ring firmly. Make sure the rubber bung is sitting tightly on the tape.
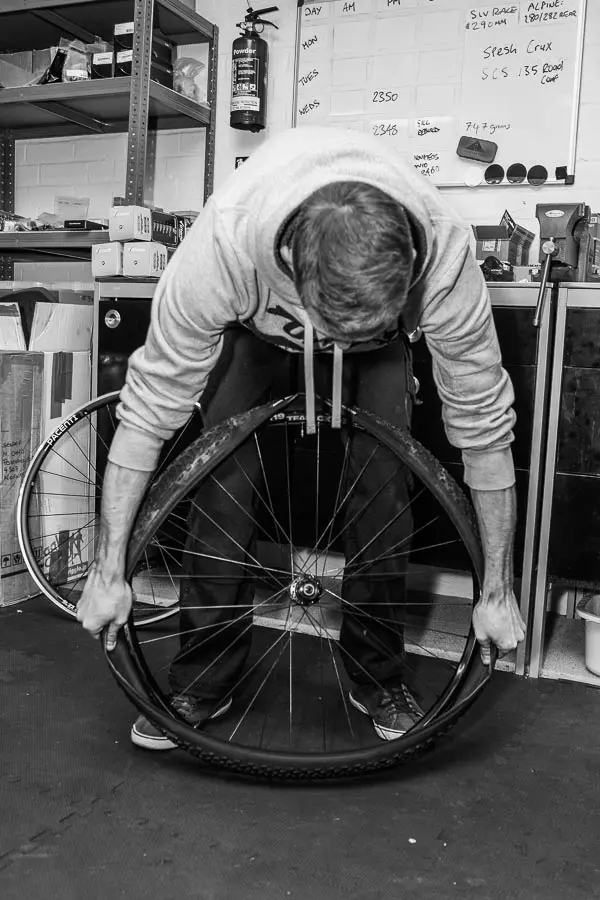
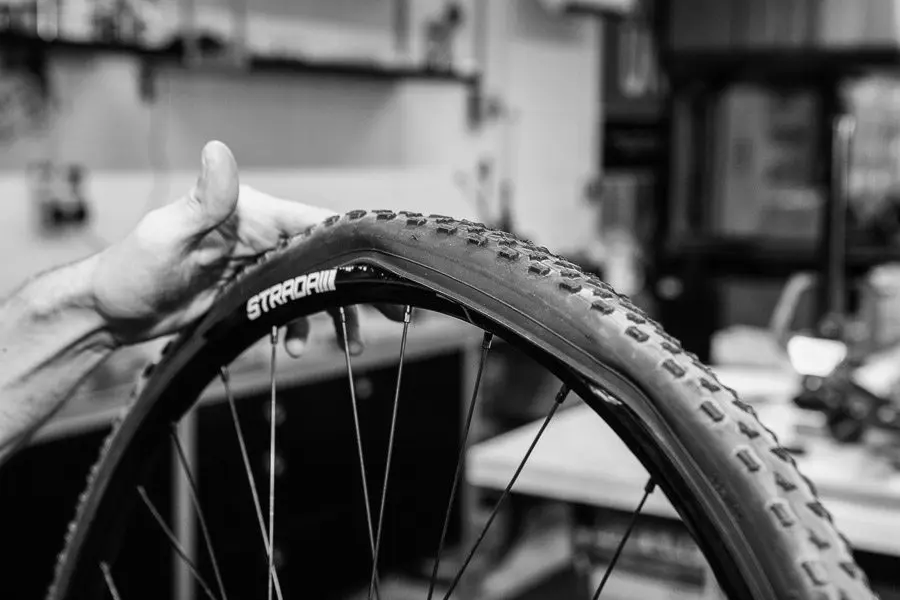
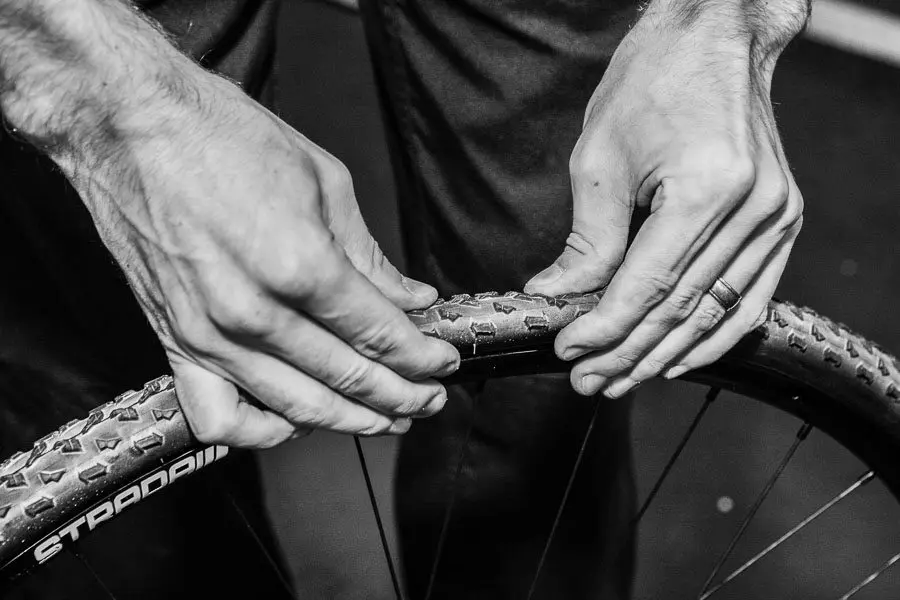
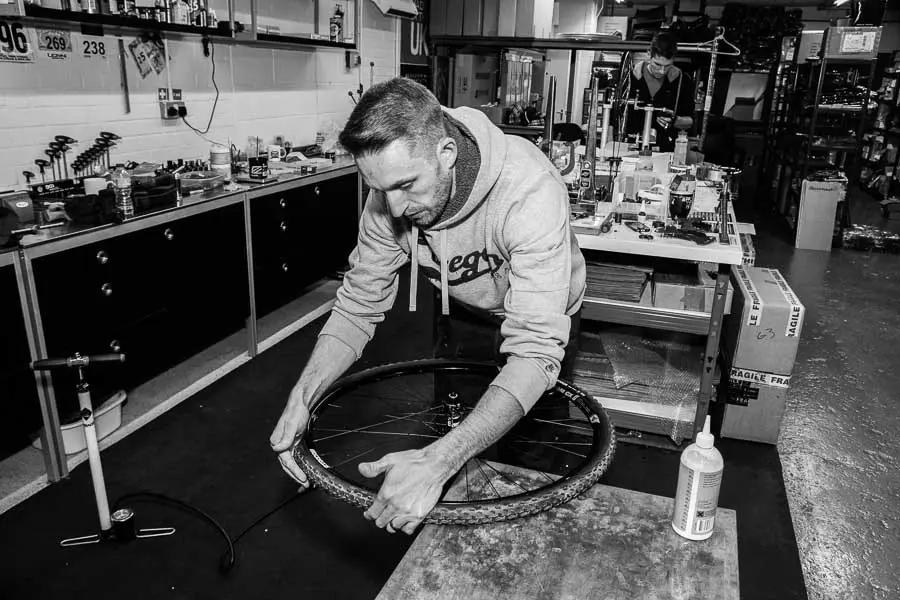
7 – mount the tyre making sure the rotation arrow is facing the right way. Make sure the tyre bead is sitting in the central gully to allow it is remain loose. Mount the second side of the tyre with the bead into the central gully. Use your hands topush the tyre downwards round the rim to drive the slack to the base of the wheel. Pop the bead over by hand. Repeat for the second side. You should not require tyre levers to do this if the bead is kept in the central gully.
Pro tip – make sure the tyre logo is aligned with the valve stem.
Leave a 4-5 inch pocket to tip the sealant in.
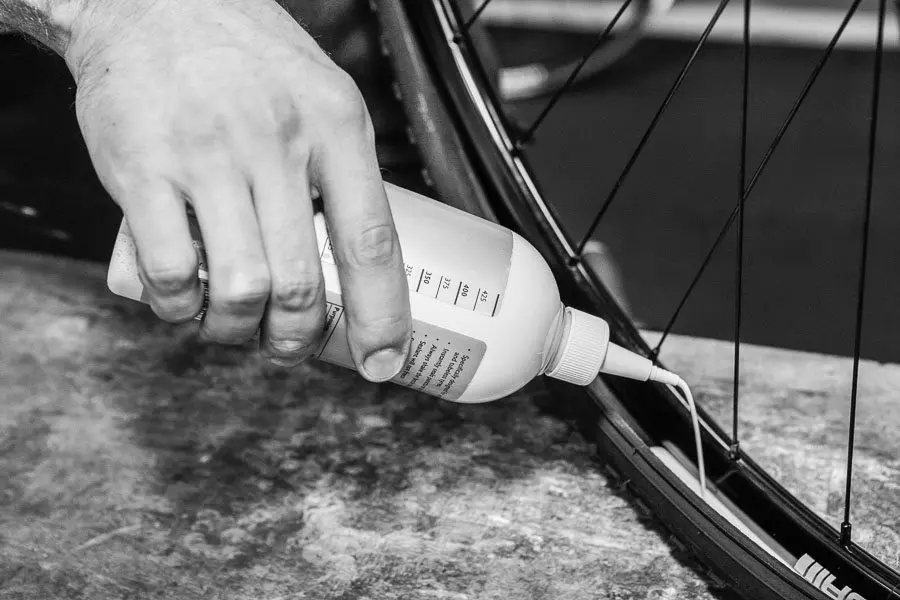
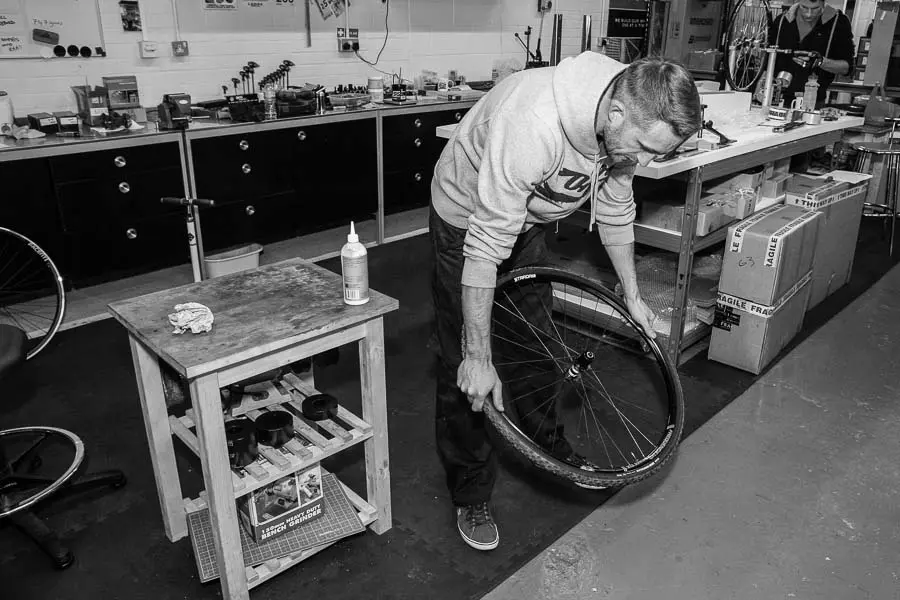
8 – rotate the wheel round so pocket is at the base and pour in 60-70ml of sealant and then rotate the pocket back up to the top and work the last part of the bead over the rim. Clean off any excess sealant.
9 – work the tyre bead from the central gully out the the rim edge all the way round so it is flush to the exposed vertical alloy surface. Repeat on the other side of the rim.
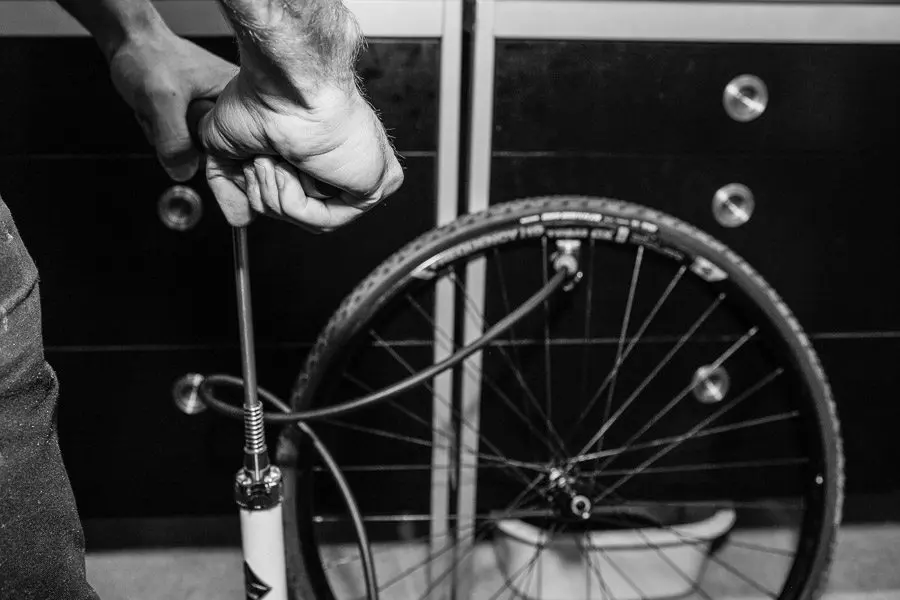
10 – add air with a high volume pump. If you have difficulty getting it to inflate you may not have wrapped sufficient layers of tape to cause a seal or the bead may not be properly seated to the rim wall. If you cannot hear air escaping then continue to inflate the tyre to 40 psi. The bead will seat with a loud snap noise – do not be alarmed by this!
Pro tip – if you need extra air to help seat a tyre then remove the valve core to increase the volume of air travelling into the tyre.
11 – check the bead is sealed and no sealant is leaking out.
12 – to make sure the sealant is covering the whole inside of the rim and is worked into all the crevices spin the wheel by the axle end caps, wave it horizontally and bump and rotate on the floor. Then check for leaks again and leave to settle.
Now repeat for the other wheel and fit them onto your bike and go for a ride.
